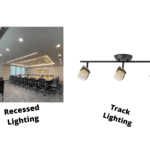
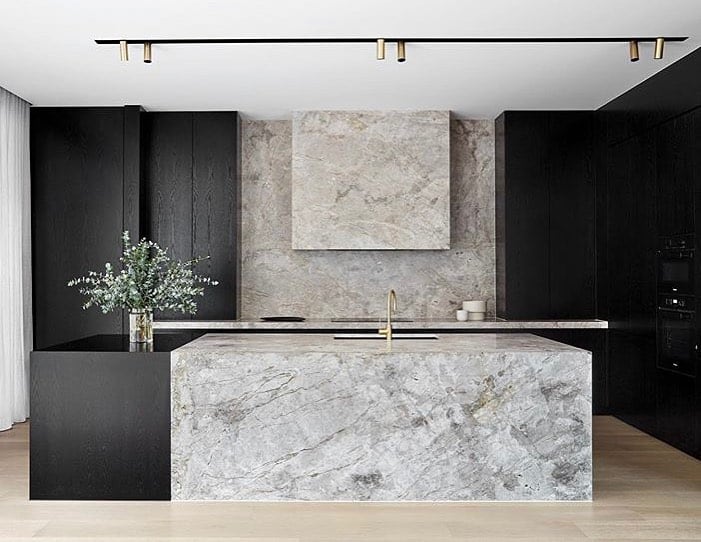
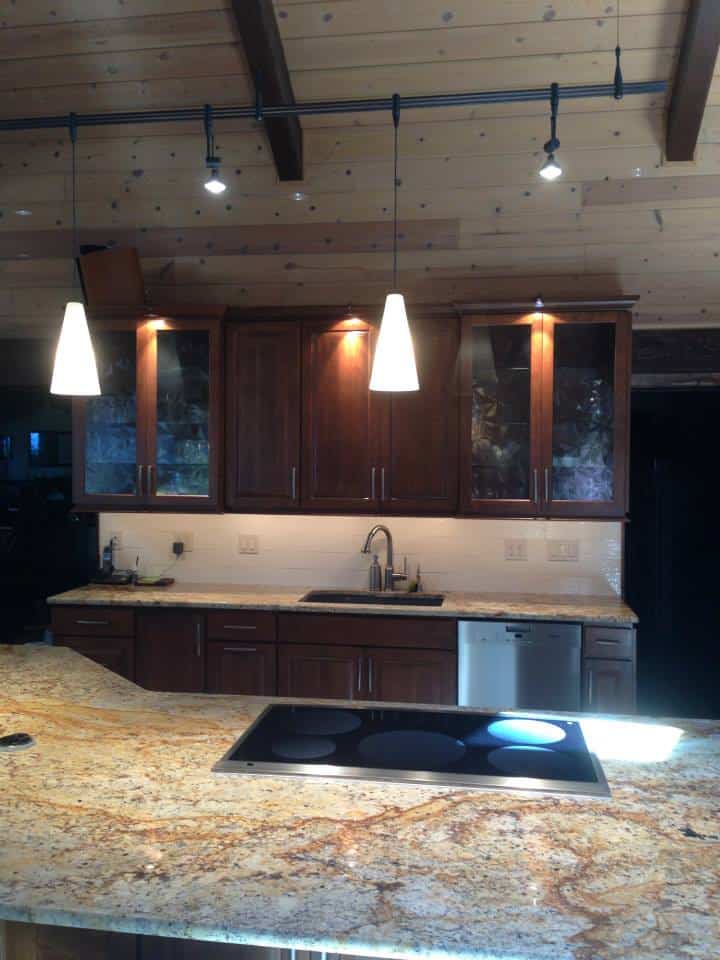
Do you want to light up the dark corners of your homes and offices with track lightning but are confused about the process? No worries, we will help you in this matter with our brief guide.
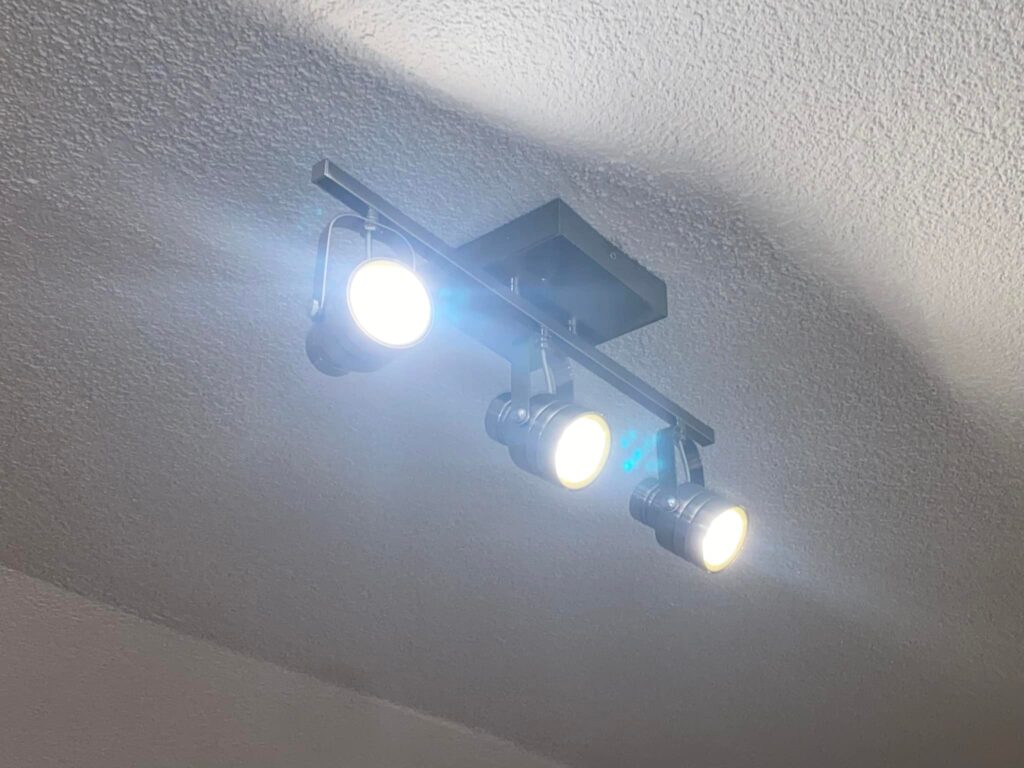
In 1961, Anthony Donato introduced track lighting. Since then, this invention has become a trend. Today, these fixtures are commonly found in offices, homes, and hotels worldwide, especially in America. They make corners of your place stylish, innovative, and bright. Plus, they are available in many layouts and kinds to give a modern look through lighting to your homes and offices.
These fixtures are beneficial for tightly fixing lights to the ceiling. You can set them on the ceilings or walls very conveniently. This blog post will provide well-proven and in-depth information about track lighting, its purpose, and how to install them. So, let’s get into it!
Table of Contents
What Is Track Lighting?
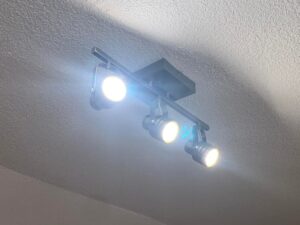
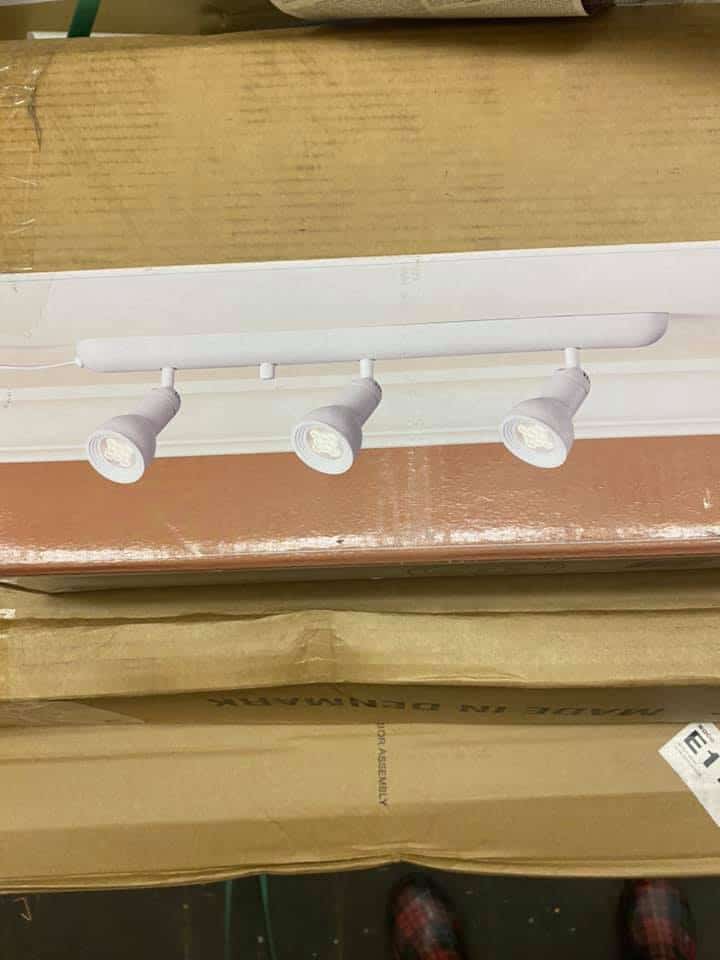
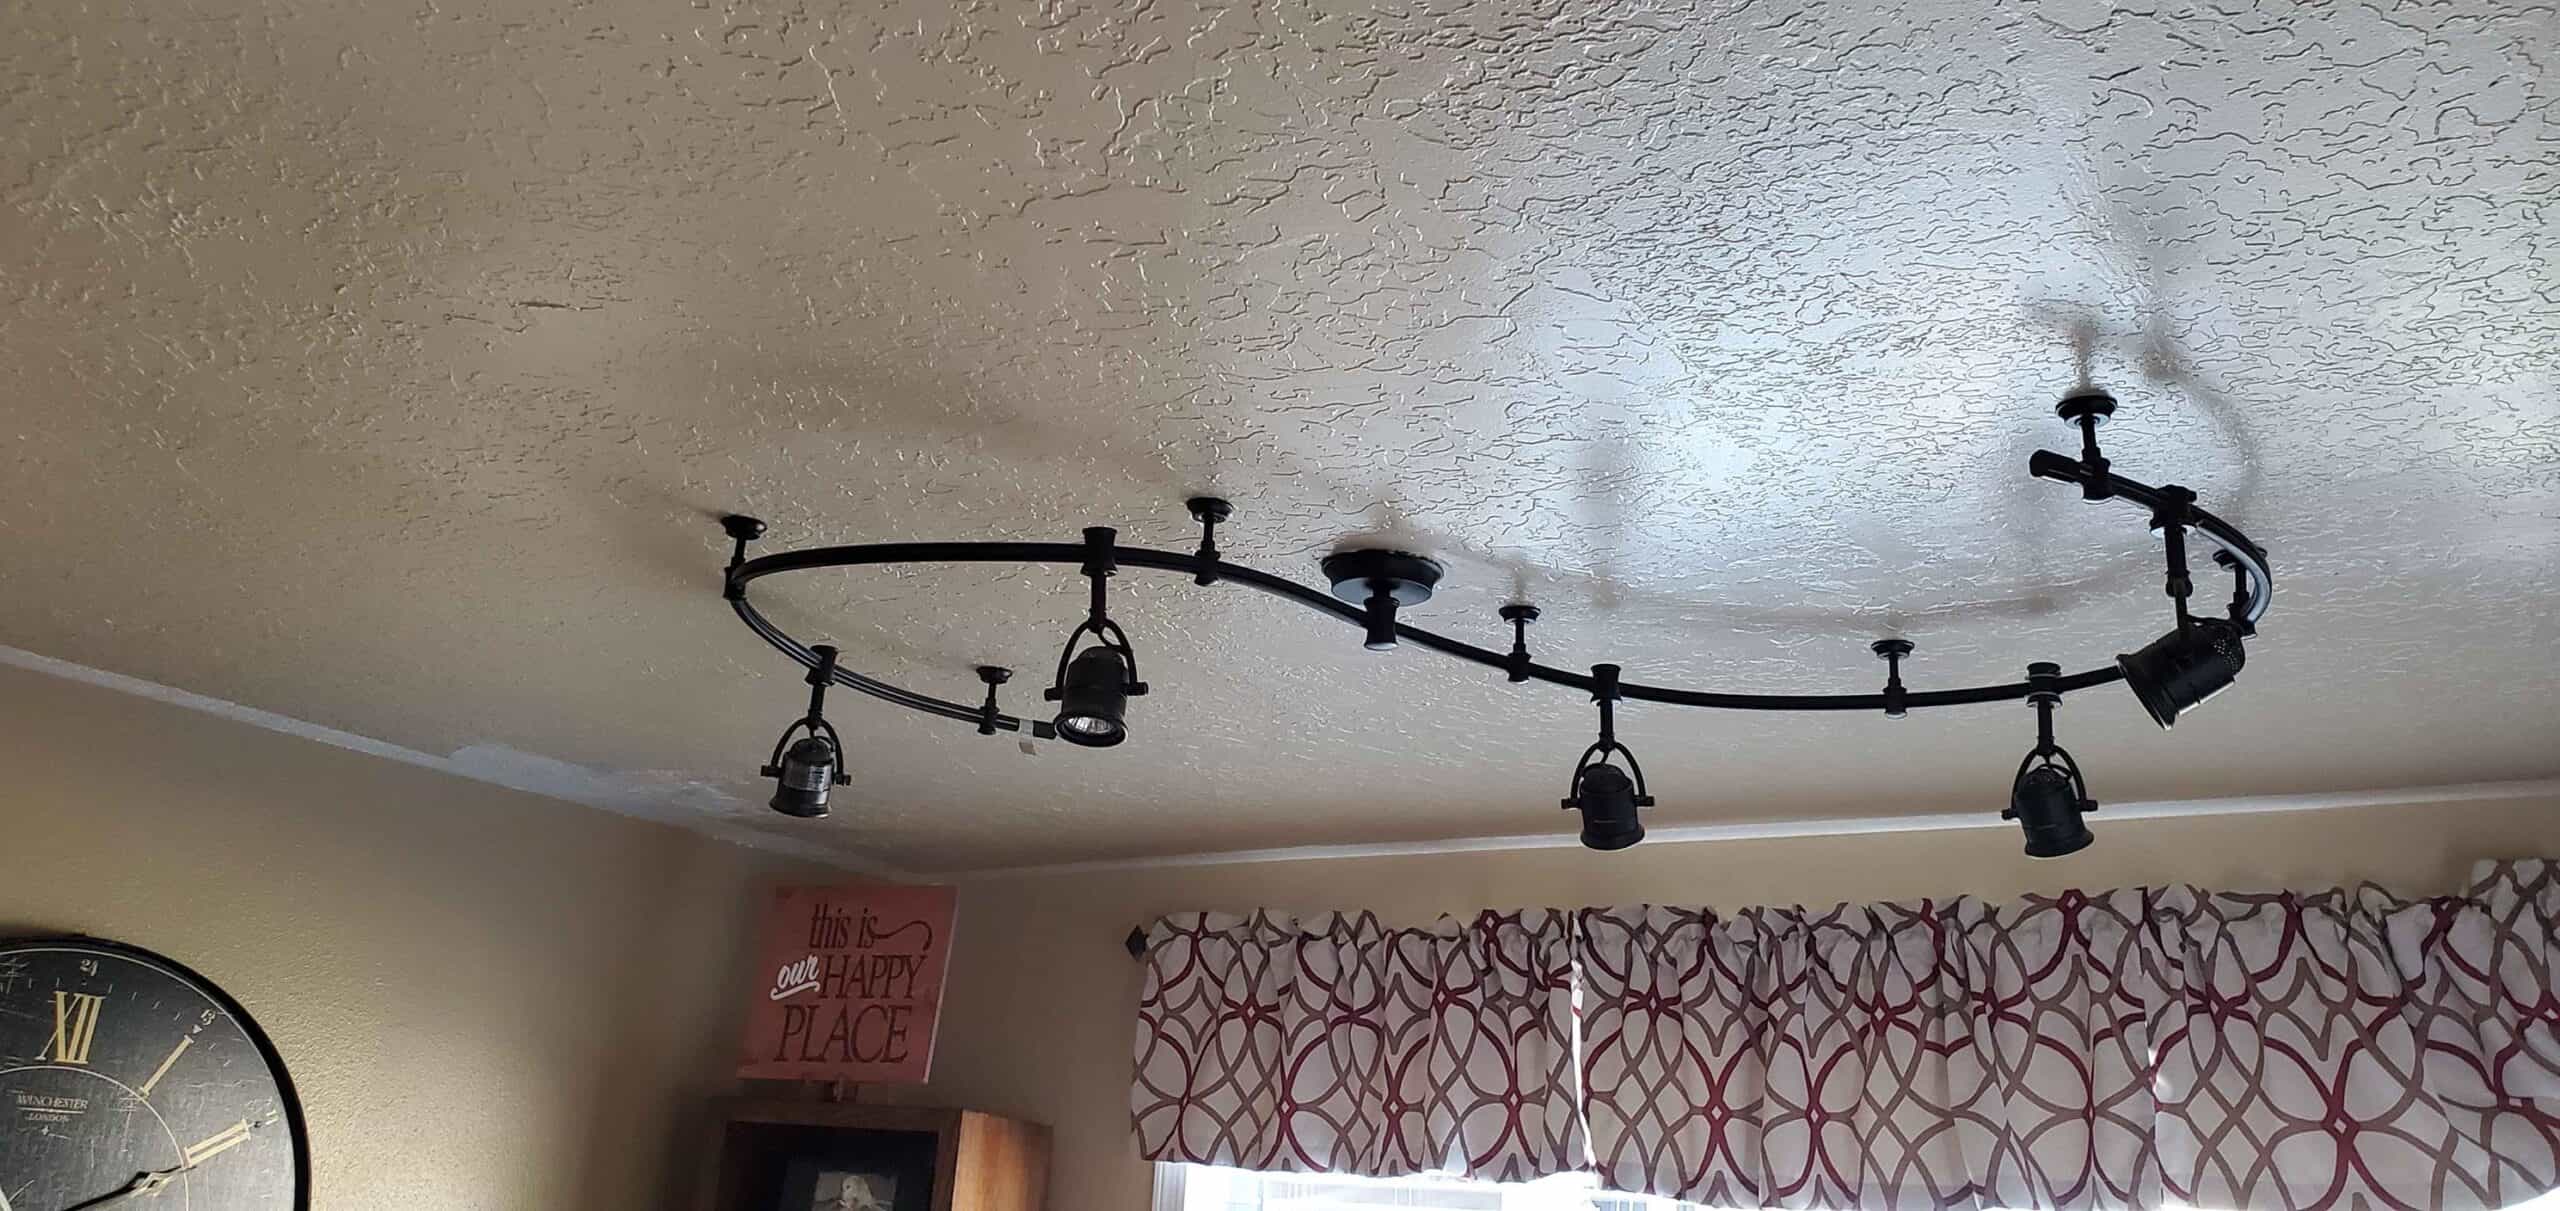
Track lighting is an electric system that is attached to walls or ceilings. It is a fixture that has multiple heads or lights attached to the track. A track helps in providing electricity to various lights through electrical conductors. These lights are movable. That said, you can position them to any angle by slightly moving them. It has two parts: a track and heads (or lights).
Track lighting needs a supply of electricity. You need to fix it near a junk box or an outlet for that purpose.
Types Of Track Lighting
Multiple track lighting options are available for you. However, its two types are most reliable:
- H-type (Halo compatible system): It is 3 wires contact clips. Their dimension is 1⅜” width and 11/16” height from clip to clip in a single plane. The contact clips have a distance of ⅞” between them.
- J-type (Juno compatible system): It has 2 wires contact clips. Their dimension is 1 ½” width and ¾” height from tip to tip. They have a 1” distance between them.
- L-type (Lightolier compatible system): It also has 2 wires contact clips. Their dimension is 1 ½” width and 15/16” height. The contact clips have ⅞” distance between them.
How Do Track Lighting Parts Work?
Track lighting has three basic parts:
- Track
- Head
- Bulb
1. Track
The track is the part that is mounted on the wall or ceiling. It is like a square that has one of its sides is cut out from the middle. The open side is placed outside, where the head is moved.
It is the power supplier of lighting. It is connected to the power source, and the whole part conducts the electricity. This ability helps you to place your head unit in the desired location.
Related Article: Best flexible track lighting
2. Head
The Head is the movable unit that is attached to the track. It gets the power from the track and ignites the bulb inside. There are different types of heads. They include round back, gimbal, step, pinhole, pendant track head, etc.
Heads are usually adjusted with track-specific. If your head cannot fit in a track, then you have selected the wrong one. Do some research and check whether your lighting track can support that head. And mostly tracks are compatible with various heads.
Also, the head is the point that makes the three-track lighting types (H, J, &L) as it provides the contact clips.
3. Bulb
Light bulbs give you the light. They are of three types, reflector, dichroic, and GU10 bulbs. These are specific for the heads.
Reflector light bulb gives the directional light as the inner side has a reflective coating. It is parabolic or cone-shaped.
Dichroic bulbs are less harmful as they reflect the visible light forward and keep IR and UV to the back of the bulb. The dichroic coating reflects the light and filtering IR to the back. And since IR also causes heat so the reflected light is cooler than normal.
GU10 is an MR (Multifaceted Reflector) bulb that usually fits in spotlights. The surface is designed to disperse more light than a normal light bulb.
How To Install Track Lighting?
Step 1: Select Your Best Suited Track Lighting
First of all, Before you start to install track lighting, you must select the best type of track lighting that will work according to your needs. In America, the primarily used types of track lighting are as explained above. However, you can choose any track lighting as per your budget and demands.
Note: While buying track lighting, you must keep safety a priority. Buy a fixture that does not fall off. Moreover, you should consider a kind of track lighting that does not use a lot of power supply.
Step 2: Plan A Layout And Design Track Lighting
A user can design track lighting according to the length of the track that he needs. There are multiple standards for designing it. You need two things for planning a layout: a track and connectors. Once both these parts are connected, the track is ready to be fixed.
Step 3: Provide Power Supply to Track Lighting
Track lighting needs the supply of enough electricity to function effectively. Therefore, you should fix it at a place where the power supply is readily available. Connect the track to the source of the power supply. Primarily, you can supply power through an electricity box present in the ceilings.
● How To Connect A Track With A Power Supply?
There are two methods for connecting the connectors with the electricity box. To effectively supply the power across the whole track, join the track and electricity box with the help of a Floating Canopy Connector. This connector can supply electricity all across the track but not to its ends.
However, if you want to supply electricity across the ends of a track, then Live End Connector is the best choice. It will supply electricity to the ends of the track where the heads are present.
Note: Availability of electricity box is necessary for effective function of track lighting. You can adjust electricity easily. However, an inexperienced person must not try it by himself. Hiring a professional electrician must be considered for safety and long-lasting use of track lighting.
After connecting both things, track lighting is ready to be used.
How To Use Track Lighting Effectively?
Fix track lighting at the targeted place. A suitable position is required to fix it. There are two ways to do so:
● Fix Track Lighting At Height
If you want the light to cover a large area, you can place the fixture at the maximum height. In this way, track lighting will cover more area, and a large area will be brightened.
● Fix Track Lighting At Low Level
If you want only to brighten or highlight a small portion, you can fix it at a low level. In this way, light covers a limited area only. However, this way, lights would be extra bright on objects.
We have explained the purpose of track lighting above. You can take ideas from those examples as well. You can reposition the heads anytime to light up any other area near the lighting track.
How Does Track Lighting Work In Different Places
Tracking light mainly lights up areas that do not have a sufficient supply of light, i.e., dark corners. You can orient them to the place where brightness is needed.
In Homes
In homes, you can use track lighting in the basement, corridor areas, kitchens, living rooms, or decorated corners. Moreover, you can also use it in your apartments to show details of your luxurious furniture.
In Offices
Track lightings are primarily placed in the areas where you need to hang paintings, place sofas, or in washrooms. In offices, you can direct the heads to areas where workers need light to work more effectively.
In Shop
While in shops, you can use these lights to focus on the products clearly. Artists use track lighting to display details of their paintings. Moreover, photographers and videographers use track lighting to enhance the light exposure of their pictures. It helps them to focus on virtual objects and diminish the rest of the background.
However, users need to properly install it so that they can entirely attain its purpose. The steps given above are essential to be kept in mind while installing track lighting:
Related Articles:
What are the differences between track and recessed lighting

